There are few things I enjoy more than pristine wood floors. Tile is cold (but at least has its place), carpet is dirty, vinyl is, well, vinyl.
When you’re working on a restoration as I am, “pristine”
isn't generally what you’re working with. Sometimes, it’s bad enough that you
have to figure whatever is beneath has to be better than what you’re looking
at.
That was our situation in Isthmus House’s foyer. Not only
were the floors hideous, they were (I think) plastic and therefore more than a
little slippery. When The Roommate and I moved in, some of the carpet remnants from the stairs were being used as doormats. We couldn't change that because we’d
wipe out walking in the front door when there was rain or snow without them.

That color in the picture might look like grey but I assure you – it’s a mottled blue.
So, shortly after walking in from the gym and almost wiping
out because it’s Wisconsin and there was snow on the ground that I tracked in,
I decided the plastic floors (that I didn’t know were plastic yet, just that
they were ugly and slippery) had to go.
During my earlier tale of stripping carpet from the stairs,
you may recall my mentioning metal stripping that “protected” each corner. This
was the first thing that had to go on the stair up from the basement to the
foyer along with all of the quarter round molding. Naturally, after pulling
nails from each stair, I assumed that that’s how this strip was held on too –
and I was wrong. Four bent screws later, I was happily on my way to pulling up
a floor.

You may recall me mentioning that there was a contractor in
the house for a few weeks “fixing things up” before I bought it. I think of
this as hiding, but that’s just me.
Upstairs, I thought the floor he put down was the easiest
thing in the world to remove (just the top layer, mind you!). But again, I was wrong – because this floor was
the easiest! Another floating floor, they just have a tongue and groove and
click together. There’s no adhesive or anything else, just a pad
underneath. I feel fairly certain that
whatever was on the best clearance is what made it into my house – but at least
it’s easy to remove!
No pry bar needed, no scraper (for the top layer, anyway),
no nothin’ – this is how it looked within 20 minutes of starting the actual floor
removal. The hardest part was taking the “tiles” to the basement!
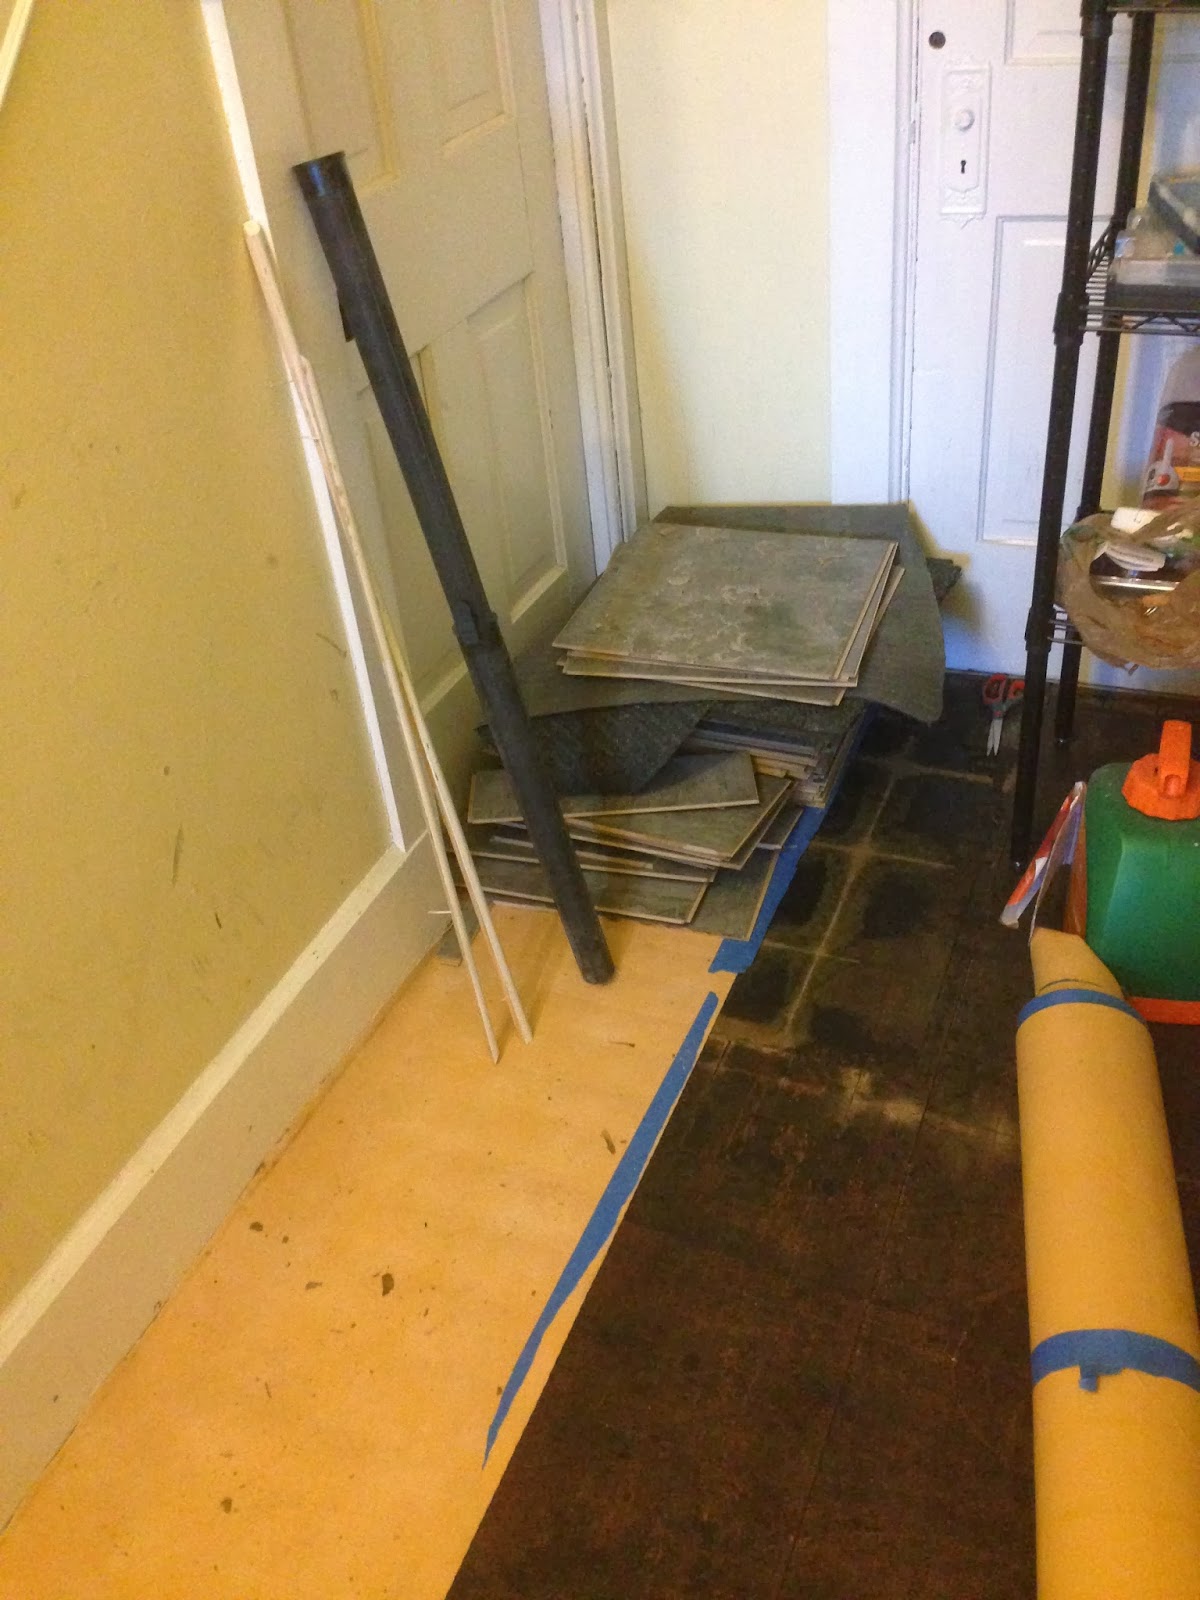
After the tiles were gone, up came the padding and I found
that the floors were almost clean! Well, aside from the old tar paper residue
but most of the actual paper was up! We decided that the fixer must have gotten
bored and quit pulling it up.

With the floor up, I got to work scraping the left over
stickiness up. Granted, a drum sander could have pulled it up nice and fast
(and with a lot less actual work), but I can’t finish the floors until I finish
the upstairs or I run the risk of ruining them when they’re freshly refinished
(notgonnahappen).

Even though I can’t finish them yet, I couldn’t quite help myself… I needed to know how
they’d look once they were stripped! The corner by the door to the kitchen (it’s
the door in the top photo above – and will be opened when we finish the
kitchen!) was a perfect place to check – they’re going to be beautiful!

I think it already
looks better – and there won’t be any more wipe outs from slipping on it!
What do y’all think? For better or for worse?
No comments:
Post a Comment